To Reset your Shark robot vacuum, press and hold down the ‘Dock’ and ‘Clean’ buttons simultaneously until the unit turns off. Release the buttons to complete the reset process.
Keeping your Shark robot vacuum in top condition is essential for optimal performance, and occasionally, you may need to reset the device to troubleshoot issues or refresh its system. A reset can resolve common glitches such as connectivity problems, charging issues, or erratic cleaning patterns.
This guide provides straightforward instructions to quickly reset your Shark robot vacuum, helping you maintain its efficiency and extend its lifespan. By understanding how to properly reset your device, you can ensure your home remains spotless with minimal interruptions to your cleaning schedule. Read on for detailed steps to get your Shark robot operating smoothly once again.
Introduction To Shark Robot Vacuum Resetting
From time to time, your Shark Robot Vacuum may act up. It’s a tech friend that needs a fresh start. Resetting the Shark Robot Vacuum is like giving it a quick nap to wake up refreshed and ready for more cleaning adventures. Let’s learn how to press that virtual reset button and bring your cleaning buddy back to life!
Why A Reset Can Be Necessary
Several reasons call for a reset in our smart home cleaners. Reboots can solve minor glitches or prepare the device for a fresh user. They also help the vacuum reconnect to Wi-Fi or update its software. A reset is a simple fix that often works wonders!
- Software Glitches: Tech can get moody.
- Connectivity Issues: Sometimes, it just won’t talk to Wi-Fi.
- Performance Hiccups: Maybe it’s not cleaning like before.
- New Ownership: Start clean with a factory reset.
- Regular Maintenance: Keep it running smoothly.
Symptoms Of A Vacuum In Need Of Reset
Certain signs hint that it’s time to reset your robot vacuum. Like a puzzled pet, it might stop in its tracks or ignore commands. That’s your cue to step in!
| Symptom | Possible Cause |
|---|---|
| No Response to Commands | The software needs a jolt. |
| Strange Noises | It could be a minor glitch. |
| Error Messages | It’s confusing and needs help. |
| Lost Connectivity | Time to reconnect with Wi-Fi. |
| Unusual Movement Patterns | Its internal map might be off. |
Is your vacuum acting odd? Stay calm. A simple reset might just be the trick to get your Shark Robot Vacuum back on its cleaning route.
Pre-reset Checklist
Before embarking on the journey to reset your Shark robot vacuum, a thorough prep ensures a smooth and safe process. The following guide will take you through essential steps to prep your vacuum for a reset. This will help avoid mishaps and ensure that your device is ready to return to its default settings flawlessly.
Safety First: Unplugging And Preparations
Safety overrides all other concerns with electronic devices. Begin by switching off your Shark robot vacuum. Carefully unplug the device from any power source. This prevents any electrical hazards while you handle the vacuum. Ensure the vacuum has cooled down if it was in use recently. Remove it from its charging dock to ensure it’s not drawing power.
Gather The Necessary Tools
To ensure a complete reset, you may need certain tools:
- A small Phillips-head screwdriver: For opening any compartments if needed.
- Soft cloth: For gently cleaning the sensors and components during the process.
- Owner’s manual: Keep it handy for any specific instructions related to your Shark robot model.
Step-by-step Reset Process
Encountering issues with your Shark Robot Vacuum? Sometimes, a simple reset can solve common problems. Resetting your Shark Robot Vacuum is a straightforward process. Follow this ultimate guide to breathe new life into your cleaning companion.
Locating The Reset Button
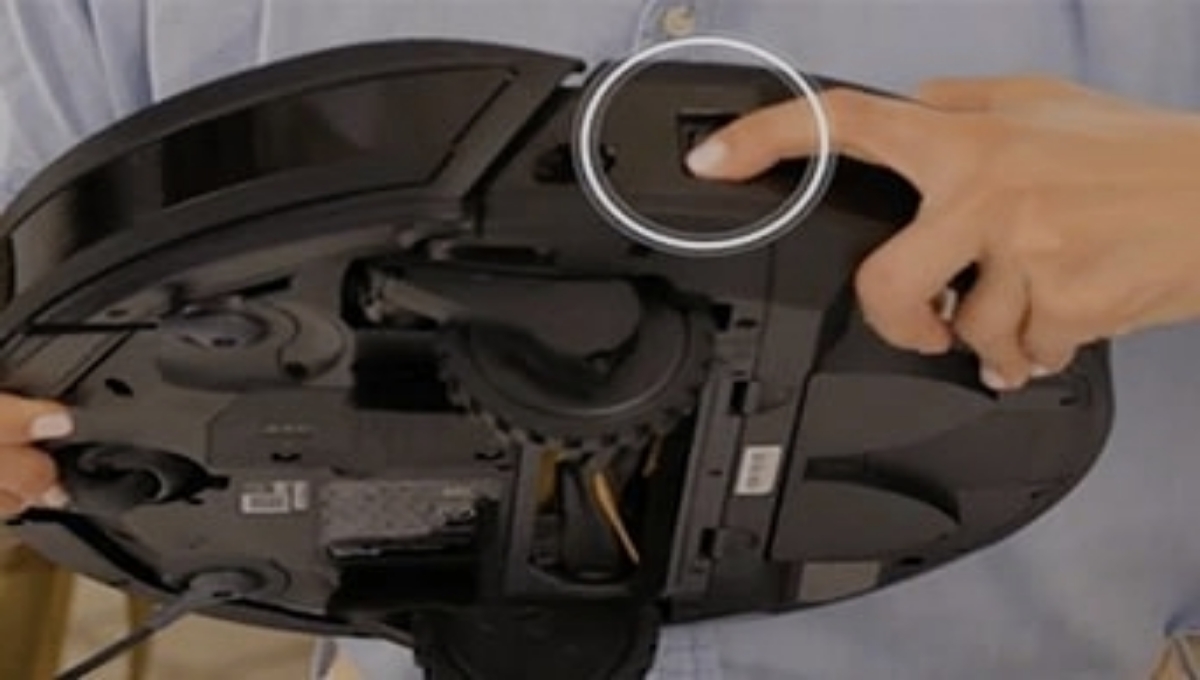
To start the reset process, you need to find the reset button. On most Shark Robot models, this button is located underneath the top cover. Gently press down on the top cover and slide it off. Look for a small, circular button labeled ‘Reset’. Position the robot to ensure easy access to this button.
The Right Timing: How Long To Hold The Button
Holding the reset button correctly is crucial. Once you locate the button, use a pen or paperclip to press it. Press and hold this button for 10 to 15 seconds. The vacuum’s light will blink, indicating that the reset is in progress. Release the button after the light stops blinking. Your Shark Robot Vacuum should now be reset and ready for use.
Post-reset Procedures
Once you have successfully reset your Shark Robot Vacuum, a few important steps ensure it’s ready for action. Follow these post-reset procedures carefully to make the most out of your cleaning buddy!
Confirming The Reset
It’s crucial to verify if the reset worked. You need to check the vacuum’s system status. Look for standard indicators like blinking lights or welcome messages. Confirmation ensures the vacuum is back to its default settings.
Check the following to confirm a successful reset:
- Power light: Should be steady, not blinking
- Error messages: Should disappear
- Wi-Fi indicator: Should flash, indicating ready to pair
Setting Up The Vacuum For First Use Post-reset
Consider a reset Shark Robot Vacuum like a new start. It forgets its old settings. You must set it up as if it just came out of the box.
Steps for initial setup:
- Charge the vacuum fully.
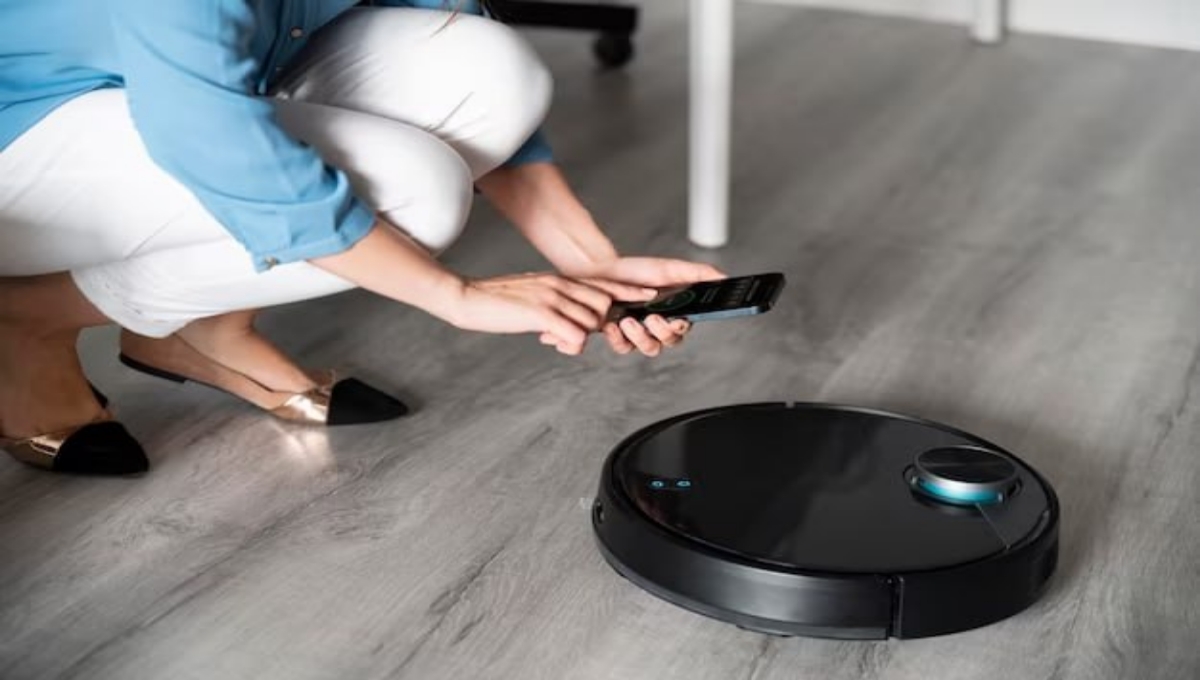
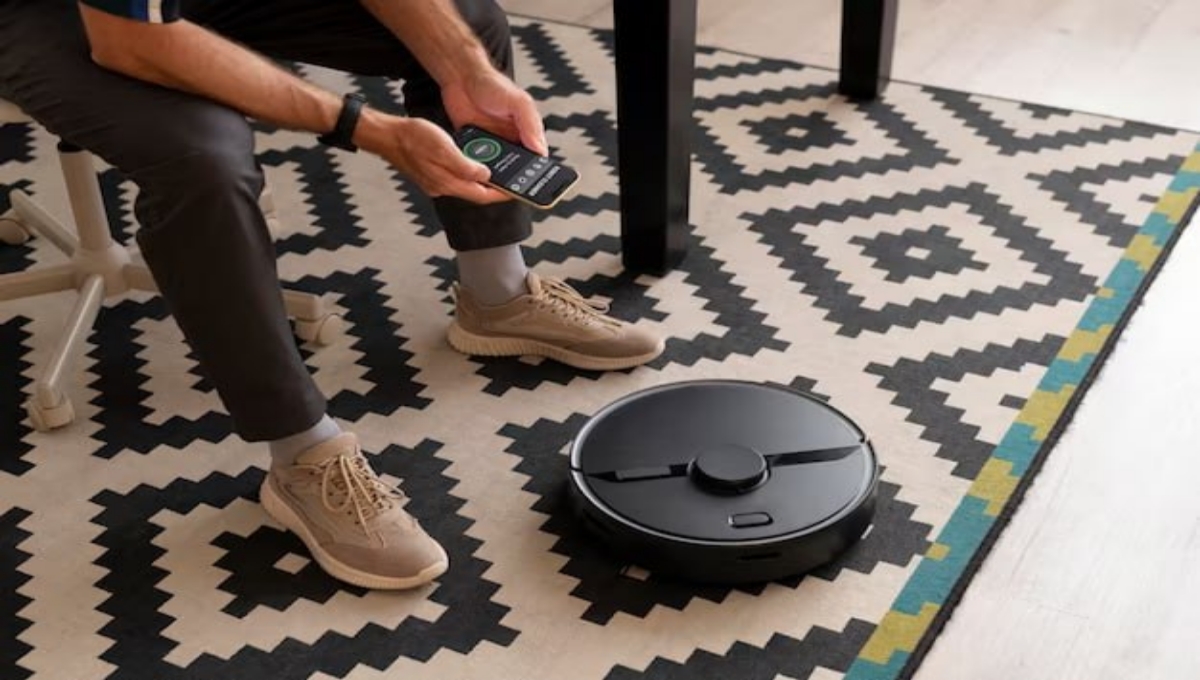
- Connect to Wi-Fi using the SharkClean app.
- Update any necessary firmware.
- Customize cleaning preferences.
- Schedule your cleaning times.
Remember: Custom settings from before the reset won’t save. You need to input them again.
By following these essential post-reset tasks, you ensure your Shark Robot Vacuum runs at peak performance. Your floors will thank you!
Troubleshooting Common Reset Issues
Is your Shark Robot Vacuum not acting as it should? A reset can often fix quirky behavior and restore your vacuum to proper working order. But what happens when resetting itself doesn’t go as planned? Let’s dive into some common issues you might encounter when trying to reset your vacuum and how to effectively tackle them.
When Your Vacuum Doesn’t Respond To Reset
If your Shark Robot Vacuum ignores your reset attempts, follow these steps:
- Ensure the vacuum is fully charged.
- Check the power button; it should be on.
- Press and hold the reset button for 10 seconds.
- Wait for the light to blink, signaling a reset.
Sometimes, vacuum software may need a manual nudge. Check for firmware updates on the Shark Clean app.
Dealing With Recurring Problems After Reset
Does the problem come back, even after a reset? You might need a deeper fix:
- Clean the sensors and filters.
- Remove trapped dirt or debris.
- Examine the brushes for tangles.
For persistent issues, contact Shark customer service for professional advice. They can guide you through advanced troubleshooting or recommend a repair.
Maintaining Your Shark Robot Vacuum
FAQs About Reset Your Shark Robot Vacuum
How To Initiate Shark Robot Vacuum Reset?
To reset a Shark Robot vacuum, press and hold the ‘Clean’ button for about 10 seconds until the device turns off, and then release it.
Will Resetting Shark Vacuum Affect Smart Settings?
Resetting erases all custom settings, returning the vacuum to default factory settings, so any smart features will need reconfiguration.
What Signs Indicate A Shark Vacuum Needs Resetting?
Erratic behavior, unresponsiveness to commands, or persistent error messages generally signal that your Shark vacuum might need a reset.
Can A Reset Fix Shark Robot Vacuum Errors?
A reset can resolve many common errors by clearing glitches and restoring default settings, but it is not a fix for hardware issues.
Are Firmware Updates Retained After A Reset?
Following a reset, the Shark vacuum maintains its latest firmware update, as these are designed to be permanent improvements unless manually reverted.
Conclusion
Mastering the reset process for your Shark Robot Vacuum ensures optimal performance and longevity. With this guide, troubleshooting common issues becomes a breeze. Elevate your vacuum’s functionality and embrace a cleaner home with confidence. Remember, a reset could be just the fresh start your device needs.
Keep this guide handy for a quick, hassle-free experience.


