
To program a Braeburn thermostat, consult the user manual for specific instructions unique to your model. Use the interface to set your desired temperatures for different times and days.
Programming a Braeburn thermostat optimizes home comfort and energy efficiency. These thermostats offer customizable scheduling, allowing homeowners to adapt heating and cooling to their daily routines. With user-friendly controls, Braeburn devices make programming straightforward. You typically navigate using arrow keys to set times and temperatures, confirming choices with a ‘Set’ or ‘Enter’ button.
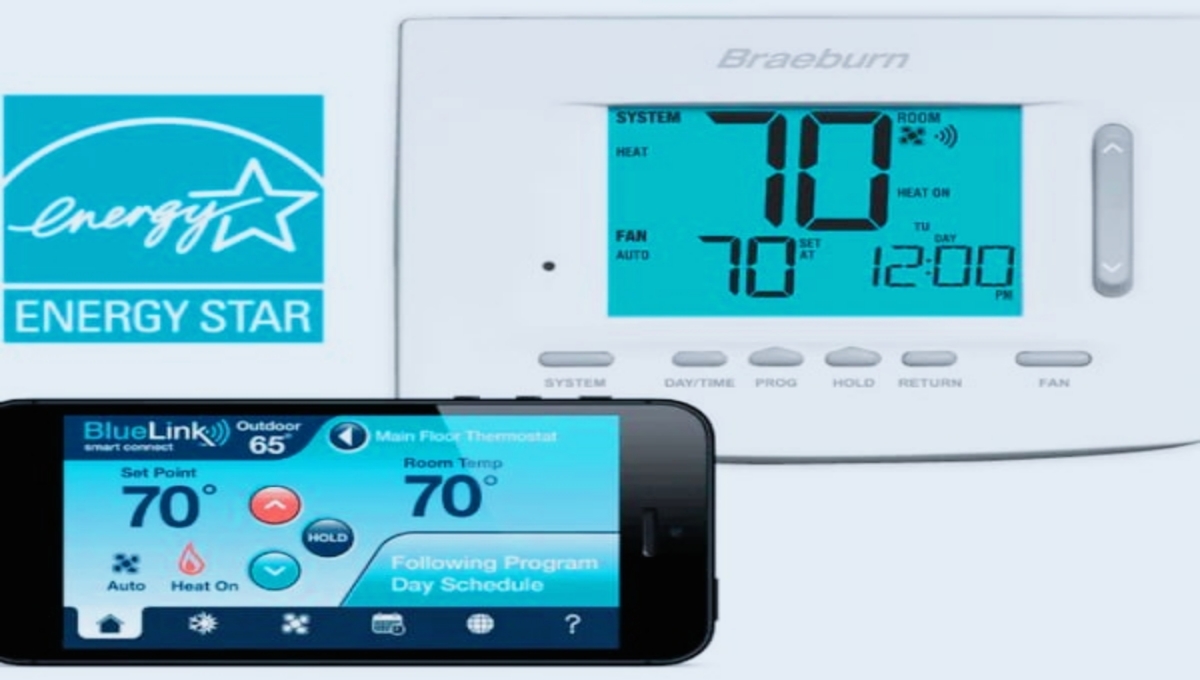
Keeping indoor temperatures consistent, Braeburn thermostats can reduce utility bills. Moreover, advanced models feature Wi-Fi connectivity, enabling remote adjustments via smartphone apps. Beginning with a clear understanding of your model’s features ensures a seamless setup. Refer to the manual for the most accurate guidance tailored to your thermostat.
Choosing The Right Braeburn Thermostat Model
Warmer or cooler, a Braeburn thermostat helps balance your home’s temperature. Not all models suit every system. Understand your needs.
Compatibility With Your HVAC System
First, ascertain your HVAC type. Braeburn makes thermostats for various systems.
Is your system single-stage, multi-stage, or a heat pump? Single-stage models work for simple setups, while more advanced systems might require multi-stage models.
- Single-stage units: Generally for heating or cooling
- Multi-stage units: Handle different levels like high and low
- Heat pumps: Special models exist for these
Checking compatibility avoids mismatched equipment.
Highlighting Model-specific Features
Different Braeburn models carry unique features. Consider programmability, display options, and connectivity.
| Model | Programmability | Display | Connectivity |
|---|---|---|---|
| Basic | Non-programmable | BW | None |
| Mid-Range | 5-2 Day | Color | Wi-Fi |
| Advanced | 7 Day | Touchscreen | Wi-Fi/Smart Home |
Choose features aligning with your lifestyle. Do you need remote access or is a basic model enough?
Unboxing Your Braeburn Thermostat
Welcome to the first step in taking control of your home’s comfort! Your journey begins with unboxing your new Braeburn thermostat. Let’s discover what’s inside and how each component plays a part in your climate control adventure.
What’s In The Box?
Your new Braeburn thermostat package should contain the following:
- Braeburn Thermostat Unit – The brain of your climate control
- Mounting Screws and Anchors – To secure the unit to your wall
- User Manual – Your guide to installation and programming
- Wiring Labels – To identify and organize connection points
Inspecting The Components
Before diving into the setup, a quick inspection is crucial.
| Component | Inspection |
|---|---|
| Thermostat Unit | Check for visible damage or defects |
| Mounting Supplies | Ensure screws and anchors have no irregularities |
| User Manual | Verify clear instructions and warranty information |
| Wiring Labels | Verify they’re complete, legible, and adhesive. |
Every piece is essential for a successful installation. Ensure none are missing or damaged. Your comfort depends on it!
Preparation For Installation
Insert other head elements such as styles and scripts here
Setting up a Braeburn Thermostat starts with the right preparation. Making sure you have everything in place is key for a smooth installation. Let’s outline the first steps you need to take before programming your thermostat.
Tools You’ll Need
A proper toolkit is crucial. Here’s what to gather:
- Screwdriver: For opening the thermostat cover.
- Drill: If mounting holes are required.
- Level: To ensure the thermostat is perfectly horizontal.
- Wire strippers: For preparing wires if needed.
Safety First: Powering Down Your System
Before touching any wires, turn off the electricity. This ensures your safety.
- Locate your breaker box.
- Find the switch labeled for your HVAC system.
- Flip it to the ‘Off’ position.
Wait for a few minutes after shutting off power. Then, you can safely proceed with the installation.
Step-by-step Installation
Installing a Braeburn thermostat can enhance your home’s HVAC efficiency. This guide walks you through each step, ensuring a smooth transition and proper setup. It’s important to ensure your HVAC system is off before starting. Let’s begin with removing your old unit.
Removing The Old Thermostat
Before removing the old thermostat, take a picture of the wiring. This helps during the re-wiring of your new Braeburn thermostat. Place all screws in a small container so you don’t lose them.
- Turn off the power to your HVAC system.
- Remove the thermostat cover carefully.
- Unscrew the mounting plate.
- Label the wires with the provided stickers for an easier installation process.
- Gently disconnect the wires and remove the old thermostat.
Mounting The Braeburn Thermostat
The Braeburn thermostat offers both simplicity and precision in regulating your home’s temperature. Follow these pivotal steps to mount your new device:
- Separate the front and back of the Braeburn thermostat.
- Position the backplate against the wall, ensuring it’s level.
- Mark the screw holes. Drill if necessary and insert wall anchors.
- Secure the backplate to the wall with the provided screws.
- Connect the labeled wires to their respective terminals on the backplate.
- Attach the front of the thermostat to the backplate.
- Turn on the power to your HVAC system.
With these steps, your Braeburn thermostat is ready to program. You can now enjoy a comfortable and energy-efficient environment tailored to your schedule and preferences.
Wiring Essentials
Programming a Braeburn thermostat requires proper wiring. Correct wiring is key to ensure your HVAC system functions seamlessly. Before starting, ensure power to the HVAC system is off to avoid electric shock. Utilize the Braeburn thermostat manual to identify wire functions and connections. Let’s dive into the wiring essentials.
Understanding Wire Functions
Each wire behind your Braeburn thermostat has a unique function. Identifying these wires is crucial for accurate programming. Below is a simple guide:
| Wire Color | Function |
|---|---|
| Red (R) | Power from transformer |
| White (W) | Heat control |
| Yellow (Y) | Cool control |
| Green (G) | Fan control |
| Blue or Black (C) | Common wire |
| Orange (O/B) | Heat pump reversal valve |
Connecting The Wires Correctly
Ensuring the correct wire connection is essential for your thermostat to work. Follow these steps:
- Turn off the power to your HVAC system.
- Remove the old thermostat faceplate.
- Take a picture of the old wiring for reference.
- Disconnect and label the wires.
- Attach the wires to the corresponding terminals on the Braeburn thermostat.
- Secure each wire with the terminal screws.
- Double-check every connection.
- Install the faceplate.
- Restore power to the system.
Correctly installed wires lead to smooth operation and accurate temperature control. If you experience issues, refer to the manual or consult a professional.

Programming Your Thermostat
Programming Your Thermostat is an essential step to maximize comfort and energy savings. Braeburn thermostats offer user-friendly programming options to efficiently manage your home’s temperature. Simple programming steps help you set the right temperature for any time of the day or night. Let’s dive into how to customize your Braeburn thermostat.
Setting The Date And Time
Your Braeburn thermostat functions best with the correct date and time. Follow these easy steps:
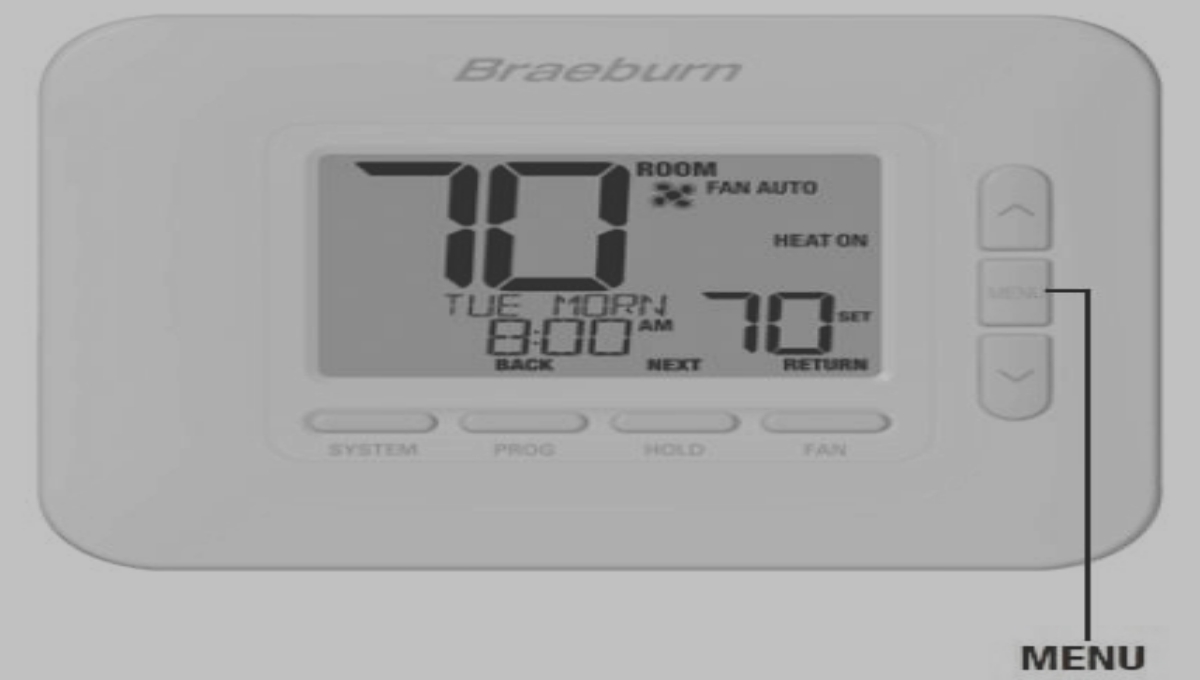
- Press the ‘Menu’ button on your thermostat.
- Use the arrow keys to navigate to the ‘Date/Time’ settings.
- Set the current year, month, and day.
- Adjust the hours and minutes to the current time.
- Confirm your settings by pressing ‘Return’.
Scheduling Heating And Cooling Cycles
Customize your heating and cooling cycles for optimal efficiency. The steps are straightforward:
- Select ‘Schedule’ via the Menu.
- Choose between ‘Weekday’ and ‘Weekend’ programs.
- Input start times for your preferred heating and cooling periods.
- Set desired temperatures for each period.
- Save each period with the ‘Return’ button.
Remember to consider your daily routine when programming each cycle. Your choices should align with when you wake up, leave, return, and go to sleep. Proper programming ensures comfort and energy savings. Repeat the process to cover the entire week.
Advanced Features And Customization
Mastering the advanced features of the Braeburn thermostat allows for both enhanced comfort and energy efficiency. Customization options enable precise control over your home’s climate. This section guides you through the utilization of programmable settings and provides tips to maximize energy savings.
Utilizing Programmable Settings
To start programming your Braeburn thermostat, follow these simple steps:
- Press the ‘Menu’ button.
- Choose ‘Program’.
- Set your desired temperature for various times of the day.
- Save your settings.
Individual days or full weeks can be customized. This ensures that you have the right temperature at the right time.
Energy Savings Tips
Maximizing your thermostat’s potential leads to significant energy savings. Here are some tips:
- Set a higher summer and lower winter temperature when away.
- Use the ‘hold’ feature for extended absences.
- Regular maintenance of your HVAC system is crucial.
By following these tips, you can cut down on energy costs while still maintaining a comfortable home environment.
Troubleshooting Common Issues
Programming a Braeburn thermostat should be a breeze. But sometimes, hiccups occur. Knowing how to troubleshoot can save the day and keep your home comfortable. Let’s explore the most common issues and how to fix them before you reach for the phone to call customer support.
What To Do When Things Don’t Work
No response from your thermostat? Start with the basics. Check the batteries – they may need a change. Do a system reset if that doesn’t work. It’s like giving your thermostat a fresh start. Still not working? Your circuit breaker might have tripped. A quick check can rule out power issues. Consult the manual for specific errors. It has a troubleshooting guide for your model.
When To Contact Customer Support
If you’ve tried the usual fixes and hit a wall, it’s time to call in the pros. Reach out to Braeburn customer support when:
- Error codes keep flashing, and the manual’s tips aren’t helping.
- Your thermostat fails to control the temperature properly.
- Wiring problems appear complex.
They have experts who can guide you through advanced troubleshooting or set up a service call if needed.
FAQs About How To Program Braeburn Thermostat
Can I Manually Set My Braeburn Thermostat?
Braeburn thermostats allow manual temperature adjustments by pressing the arrow keys on the device’s interface for immediate comfort control.
What Is The Braeburn Thermostat Programming Process?
To program a Braeburn thermostat, navigate through its menu using the ‘Program’ button to set specific temperatures for different times of the day.
How Do I Reset My Braeburn Thermostat?
Reset your Braeburn thermostat by locating the reset button or pressing the relevant combination of keys, typically outlined in the user manual.
Where Can I Find Braeburn Thermostat Instructions?
Braeburn thermostat manuals are available for download on the manufacturer’s official website or can be requested directly from their customer support.
How To Troubleshoot A Braeburn Thermostat?
Begin troubleshooting by checking power sources, verifying settings, and consulting the troubleshooting guide in the thermostat’s manual or online.
Conclusion
Mastering your Braeburn thermostat settings enhances home comfort and energy efficiency. This guide simplifies the process, ensuring quick setup and tailored climate control. Embrace these steps for a cozy, cost-effective environment. Remember, a properly programmed thermostat is key to your home’s optimal temperature management.
Start enjoying the benefits today.