
To take apart a treadmill, first, unplug it and remove the safety key. Then, consult the user manual to disassemble specific components systematically.
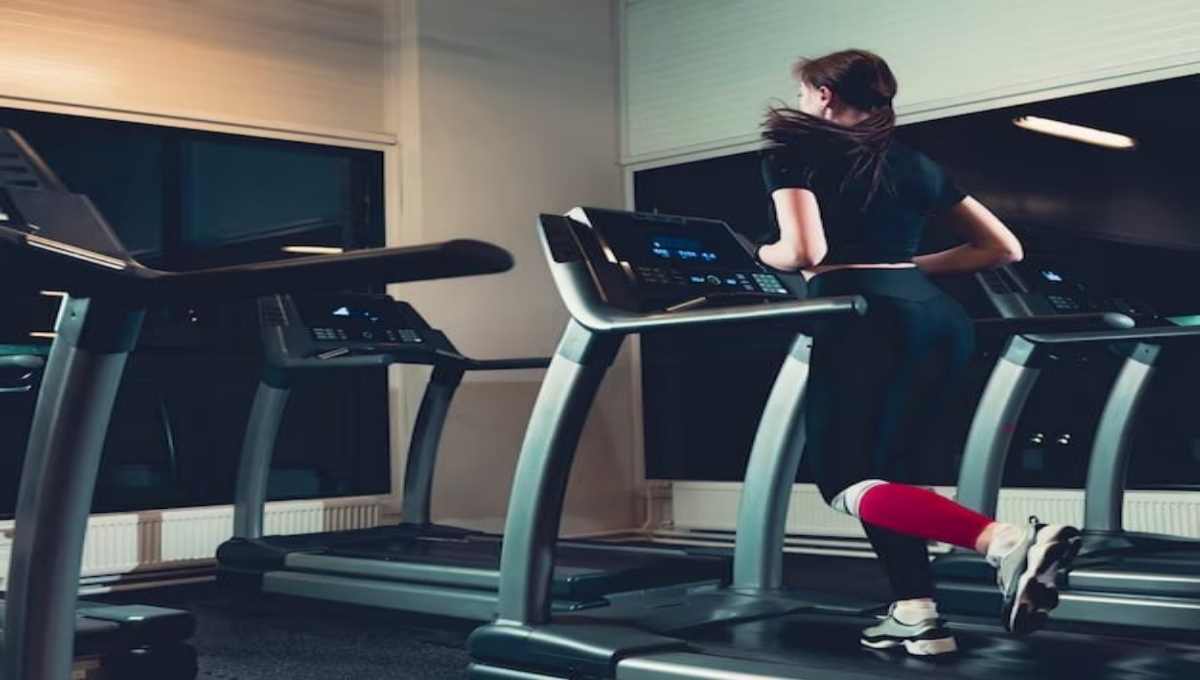
Tackling the disassembly of a treadmill requires caution and an understanding of the intricacies involved. It’s an essential task for maintenance, relocation, or troubleshooting. Embarking on this process, the right tools and a clear workspace are necessary for a smooth operation.
It often involves detaching the console, disengaging the belt, and dismantling the frame, which varies from model to model. Reading the manufacturer’s instructions can save time and prevent damage to parts, as each treadmill has unique features and construction. Keeping screws and bolts organized as you remove them is essential to avoid confusion during reassembly. Emphasize safety above all, as some components can be heavy or spring-loaded, presenting potential risks if mishandled.
Safety First: Preparing For Treadmill Disassembly
Taking apart a treadmill requires careful preparation. Ensuring your safety is paramount throughout the disassembly process. Follow these important steps to prepare for a safe and efficient breakdown of your exercise equipment.
Power Down And Unplug
Before touching any parts of the treadmill, turn off the machine. Locate the power switch, typically found at the base or side. After powering down, unplug the treadmill from the electrical outlet. This step prevents any electrical accidents.
Clear The Area And Organize Tools
Create a spacious work area around the treadmill. Move any furniture or obstacles. Ensure there’s enough room to move around comfortably. Gather all the necessary tools such as screwdrivers, wrenches, and containers. Organize your tools so they’re easily accessible throughout the disassembly process. This preparation prevents injury and helps you to stay efficient.
| Equipment | Quantity | Description |
|---|---|---|
| Screwdriver Set | 1 | Variety of sizes and heads |
| Adjustable Wrench | 1 | To handle different nut sizes |
| Container | 1-2 | For keeping small parts |
- Have ample lighting in the area to see clearly.
- Wear protective gloves to prevent hand injuries.
- Keep a first-aid kit nearby for emergencies.
Identifying Treadmill Components
Before diving into the nuts and bolts of taking apart your treadmill, it’s crucial to recognize its main components. Familiarity with these parts ensures a smoother disassembly process. In this section, we will highlight the main components, making it easier for you to disassemble them efficiently and safely.
Console And Display
The console and display are the brain and face of the treadmill. This is where you interact with the machine, selecting workouts, and tracking your progress.
- Power button
- Speed and incline controls
- LCD or LED display screens
- Heart rate monitors
- User interface boards
Frame And Base
Think of the frame and base as the skeleton that holds everything together. Robust and sturdy, it’s designed to support your weight and the dynamic motion of walking or running.
- Upright bars
- Handrails
- Stabilizers
- Transport wheels
Belt And Motor
The belt and motor are the heart of the treadmill, giving life to the machine with every step you take. The motor powers the belt, providing a smooth surface for your workout.
- Drive motor
- Running belt
- Deck
- Front and rear rollers
Step-by-step Disassembly Process
Are you planning to move your treadmill or make more space at home? Knowing how to take apart a treadmill is key. Follow these steps to safely disassemble your treadmill.
Removing The Console
Please switch off the treadmill and unplug it from the power source. This ensures safety before you start.
- Locate screws or bolts that secure the console.
- Use a screwdriver or appropriate tool to remove these.
- Gently lift the console away from the frame.
- Disconnect any wires by unclipping the connectors.
Detaching The Uprights
With the console off, the next step is to remove the uprights.
- Find bolts or pins holding the uprights to the frame.
- Remove these with care to avoid losing any pieces.
- Pull the uprights free from the base frame.
- Keep all hardware together in a labeled bag.
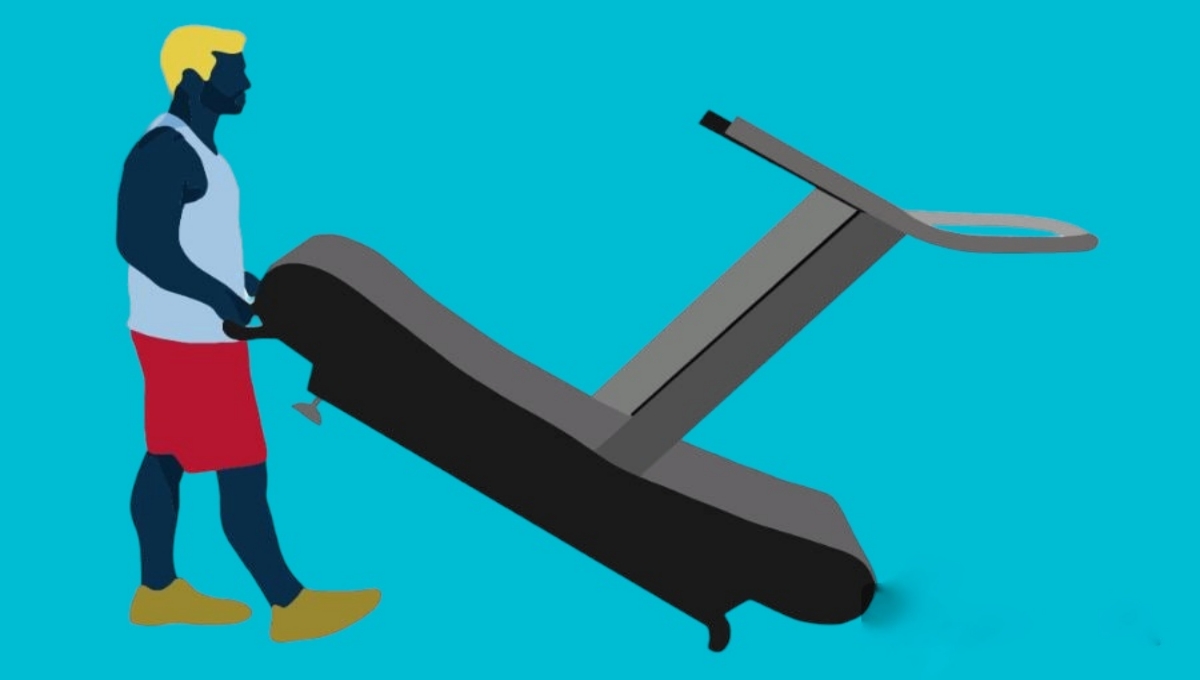
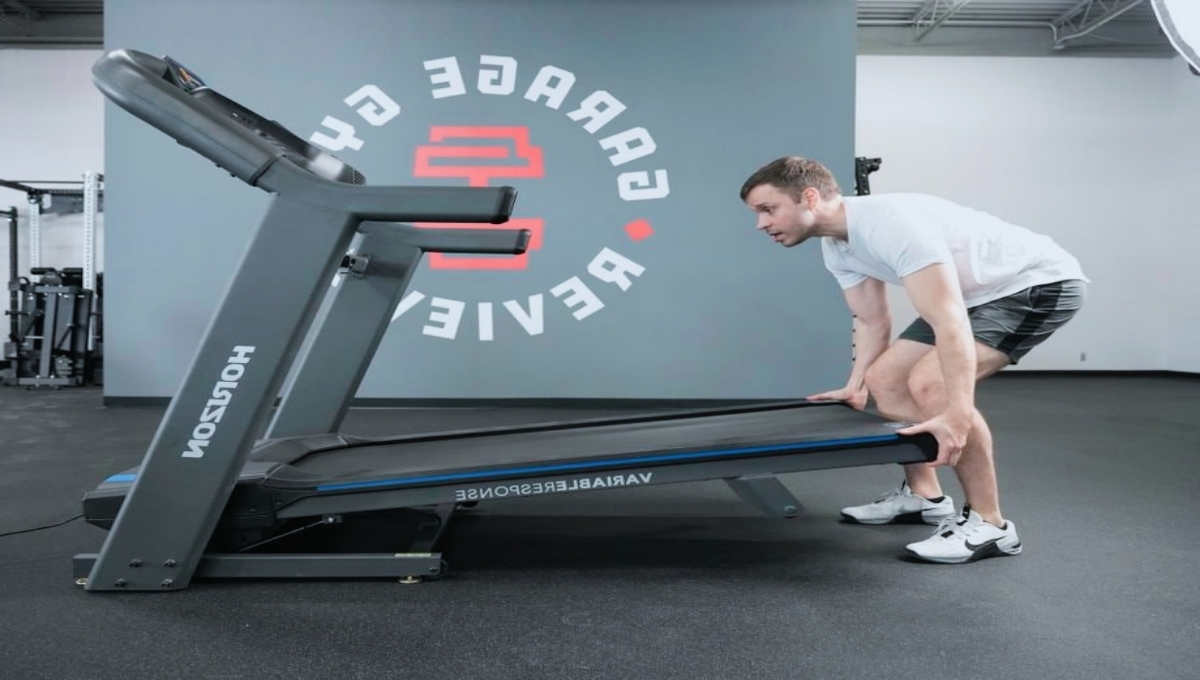
Separating The Deck From The Frame
This part requires a bit more strength.
Locate the bolts or pins that attach the deck to the frame.
Unscrew the bolts and carefully lift the deck. You might need help to lift and place the deck safely aside.
| Part | Action | Tool Needed |
|---|---|---|
| Console | Unscrew & Disconnect | Screwdriver |
| Uprights | Remove Bolts | Wrench |
| Deck | Lift from Frame | Socket Wrench |
All parts should be stored in a dry and safe place.
Storing Treadmill Parts Safely
Once you’ve managed to take apart your treadmill, it’s crucial to store the parts safely. Proper storage prevents damage and loss, making reassembly simple. Follow these steps for a stress-free experience.
Label And Sort Small Parts
Keep track of every bolt, washer, and screw. Small parts can easily get lost or mixed up, leading to headaches when it’s time to put the treadmill back together.
- Use clear, resealable bags for different types of hardware.
- Label each bag with a marker, noting where the parts belong on the treadmill.
- Place the labeled bags in a secure container or drawer away from children and pets.
Protect And Wrap Components
To prevent scratches or damage to larger parts:
- Use bubble wrap or soft cloths to cover screens and consoles.
- Secure the wrap with tape to keep it in place but take care not to stick tape directly on the surfaces.
- For extra protection, store wrapped components in boxes or storage bins.
Remember to keep the storage area dry and away from extreme temperatures to avoid damaging sensitive treadmill electronics.

Reassembly Tips And Tricks
Reassembly Tips and Tricks can be a breeze with the right approach. Careful reassembly of a treadmill ensures safety and longevity. Follow these steps for a seamless process.
Keeping Track Of Screws And Bolts
- Use containers or bags to sort hardware by size and type.
- Label each container with where the parts belong on the treadmill.
- Create a checklist of all parts for quick reference during reassembly.
Alignment And Connections
Proper alignment ensures your treadmill runs smoothly. Follow these tips:
- Match holes and screws accurately.
- Ensure electrical connections are secure and properly fitted.
- Reattach moving parts with care to maintain smooth operation.
Testing After Reassembly
Always test your treadmill after reassembling it. It’s crucial for safety.
- Start at the lowest speed to check the belt’s alignment.
- Listen for unusual noises that could indicate a problem.
- Increase speed gradually and observe the stability of the handlebars and console.
Note: Consult your treadmill’s manual for specific instructions on reassembly. If unsure, seek professional help to avoid damage or injury.
FAQs About How To Take Apart A Treadmill
What Tools Are Needed To Disassemble A Treadmill?
Standard tools typically include screwdrivers, Allen wrenches, an adjustable wrench, and possibly a rubber mallet for disassembling a treadmill.
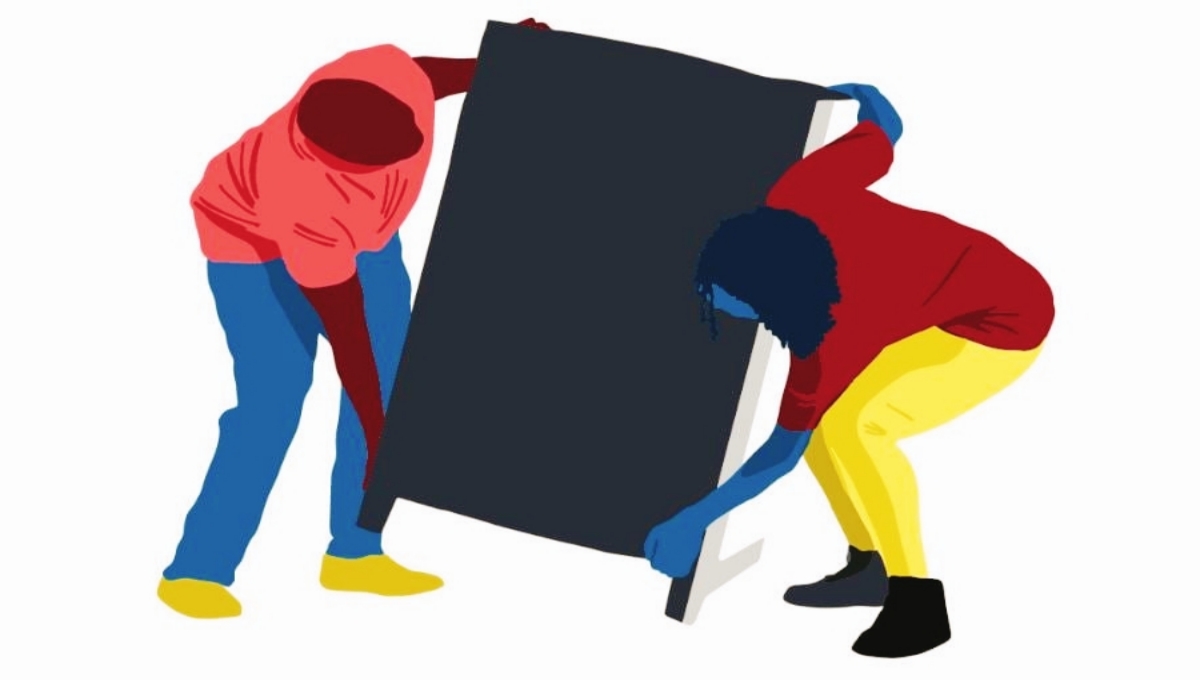
Is It Safe To Dismantle A Treadmill Alone?
While it is possible, having an assistant can prevent injury and make handling heavy or awkward parts easier during the disassembly process.
Can Disassembling A Treadmill Damage It?
Proper technique and care should prevent damage; however, incorrect handling can risk harming the treadmill’s components.
What Are The Steps To Take Apart A Treadmill?
Typically, the process involves removing the console, detaching the belt, folding the unit if possible, and disassembling the frame parts.
How To Store Treadmill Parts After Disassembly?
Label and store small parts in bags, and keep larger components in a dry, clean area to avoid misplacement or damage.
Can I Dismantle A Treadmill For Storage?
Yes, many treadmills are designed to be taken apart for transportation or storage, following the manufacturer’s instructions is crucial.
Conclusion
Disassembling your treadmill doesn’t have to be daunting. By following the steps outlined, you can safely take apart the machine, whether for moving, storage, or maintenance. Remember to keep all screws and components organized to ensure a smooth reassembly. Regular upkeep prolongs your treadmill’s life, keeping your fitness journey on track.
Tackle the task with confidence, and always prioritize safety.
Pingback: How to Change Miter Saw Blade: Safely & Swiftly - Digital Deluxury
Pingback: Can a Treadmill Go on Carpet? Avoid Mistakes! - Digital Deluxury